About Me

My photo
Based in Northampton, UK, I live with my husband Adam, our Cocker Spaniel Bruno and Deeley the Bengal cat. I work full time as a Creative Artist / 3D Designer and part-time with my creative endeavours. I hope you'll enjoy reading about my work and other random ramblings, from the satisfying successes to the catastrophic failures! Still, it's all good fun, which is kind of the whole point really...

Friday 30 March 2012

Competition Time!!!

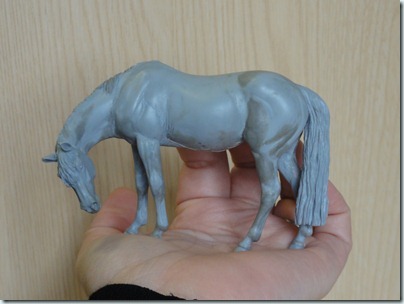
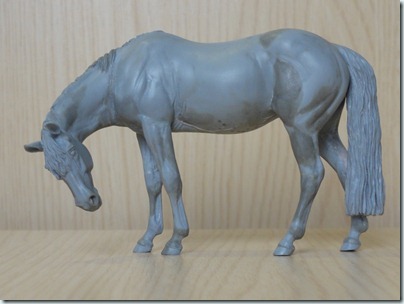
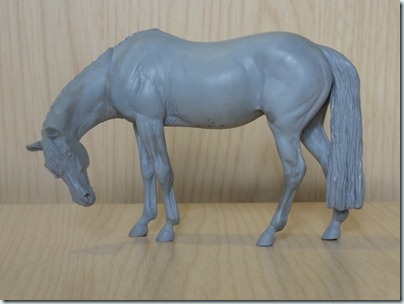
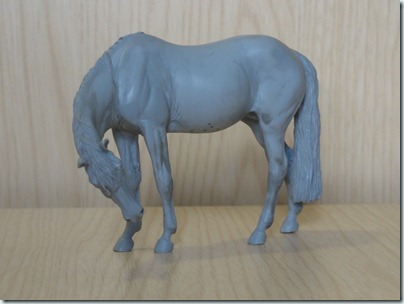
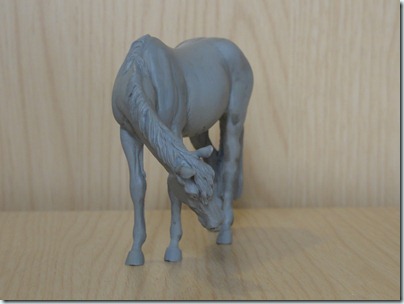
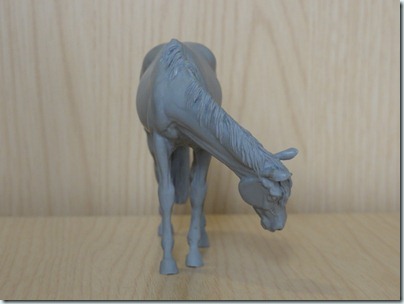
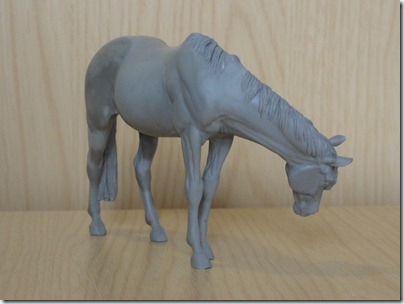
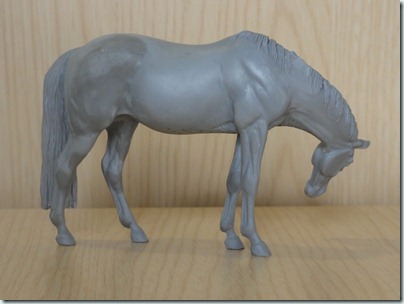
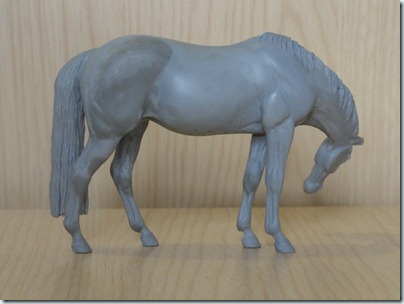
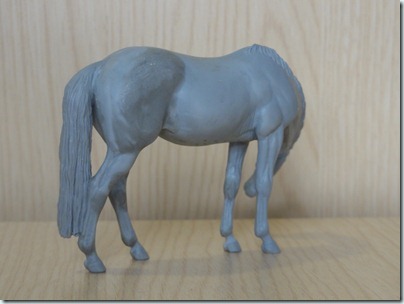
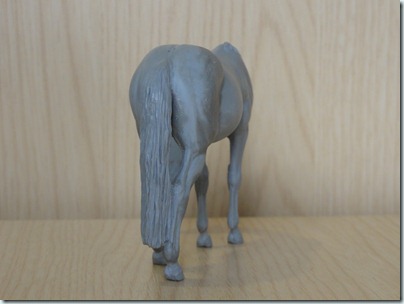
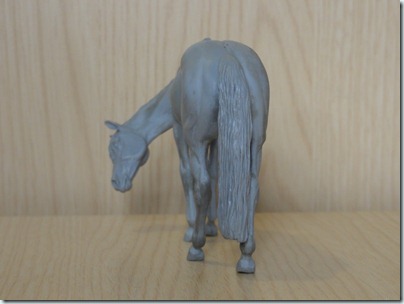
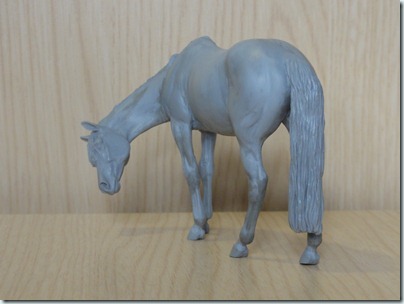
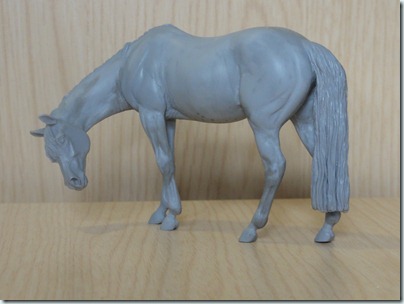
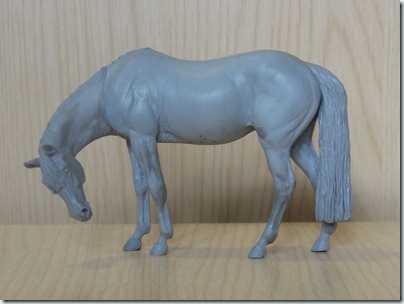
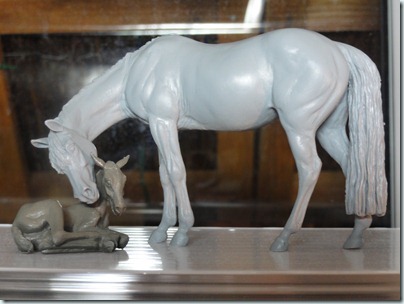
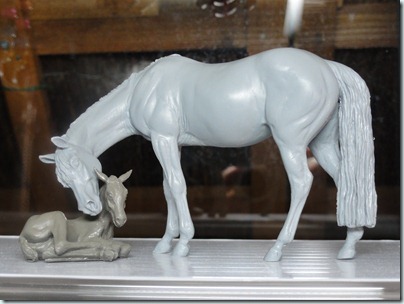
Ok peeps – she’s just about, almost, nearly, 99%, so-close-to-being-finished-I-can-taste-it, just-about done, so as promised I’m holding a naming competition to find her a name.  The winner will receive a free copy of the broodmare complete with a Very Little One to go with her.

DSC05211

As you can see she is a little “patchy” from all the resculpting, as soon as I have a nice solid coloured resin copy I will share more pics so I’m jumping the gun just a smidge here, but I so wanted to share her with you and it’s been a little while since I blogged, so I’m just diving in and showing her off now!

Here’s where she’s come from…

She is a remake from this model; The Babysitter…

P1010527

…to this model; The Broodmare:

DSC05207

As you can see she’s had quite the transformation, just about every part has been reworked, from her nose to her toes she is all new.  She has put on a few lbs as happens normally with broodmares, she’s not too overly rotund though, as she might still be preggas or may have had her foal already – that’s for you to choose so I’ve tried to make her fit either scenario.  I’ve also changed her “do” to a more pampered style, she now sports a neatly trimmed mane and tail.

More photos of her, showing her progress with some added info on her transformation from the The Babysitter to Broodmare is in My Picasa Photos


Gift with a bow  !!COMPETITION!!  Gift with a bow


This little lady now needs a fitting name.  I’m after a name that will work with the other models I’ve made – I tend not to name models after real horses but more for the feeling behind their inspiration (at the risk of sounding rather sentimental and artistic), so if you make a suggestion perhaps you could add a little note about how you came to that idea.  I won’t ignore names without any back-story of course Smile

To enter this competition, do one of the following:

  • ADD A COMMENT in the comments section below – if you get this blog by email you’ll need to click the title at the top to get to this post on the web - be sure to include some sort of contact info, either use your Google ID or mention your preferred forum and username so I can trace you if you win – NO POSTAL ADDRESSES or EMAIL ADDRESSES, PHONE NUMBERS etc. in the comments section please, this is a public web page and the spammers might see!
  • SEND ME AN EMAIL – go to this page and fill out the form.
  • COMMENT ON MY FACEBOOK POST – Go to this page and post a comment on the Competition post – anywhere else and I might not find it – I’ve clearly marked the post that needs to be commented on.

If you have my email address through previous dealings with me, feel free to drop me a line and enter this competition that way.  I haven’t changed my email address for years so the one you have should work just fine.

The deadline to enter is one week from now, terms and conditions do apply, contact me for more info.  One name suggestion is one entry, you may post as many suggestions as you like but please limit it to less than, say,a dozen or so, just so I have a manageable amount to work through once the deadline is here.  The winning entry will be chosen by me and will be the name that I feel most suits this model.  The winner will be announced as soon as possible after the deadline.  The prize will ship once cast, I can’t give an exact date on this yet as I’m not sure whether I will cast her myself or employ a casting company to do this.

Ok, I’ll stop waffling on and get this posted – I’m looking forward to hearing your suggestions!

Tuesday 20 March 2012

Broodmare Update

I’ve been delayed on progress on this little miss for best part of a week, but I never posted the latest photos of her, so here she is as of now, I’m hoping to make more progress with her tonight and get her finished soon.

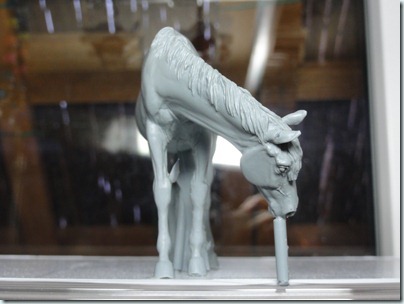
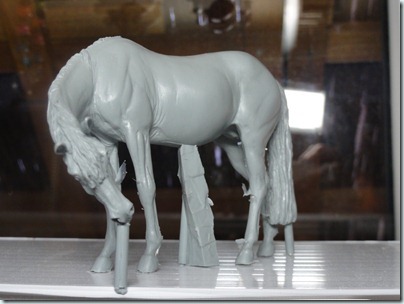
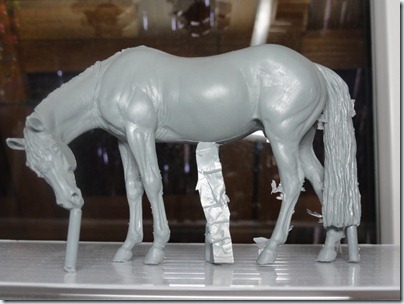
I’ve tweaked her here and there, resculpted her rear n/s back end and worked on her neck (not finished with that yet).  I’ve also lowered her leg joints slightly, as you can see in the fist photo where the n/s knee is lower than the o/s (I’ve gone too far here, but will be refining it tonight so it will appear slightly higher than it is now.  I enlarged all the tiny air bubbles on her belly so the effect is quite exaggerated where I’ve filled them in.  I’ll let the pictures do the talking now, I hope to have another update for you soon:

DSC04787DSC04788DSC04789DSC04790DSC04791DSC04792DSC04793DSC04794DSC04795DSC04796DSC04797DSC04798DSC04799

Wednesday 14 March 2012

Macclesfield Live Show Report

This last weekend I attended the Macclesfield Live Show is Macclesfield, Cheshire.  This show is run by Claire Ashworth who has run many shows before and usually runs more than one show each year – something I admire greatly.  I admire anyone who puts on a Live Show as the organisation, financial outlay and stress it involved sends a chill down my spine!

My day began early, I had to set off at 6:30 am to meet my friend Ann who was giving me a lift from her house in Leicestershire.  It’s not often I see the sun rise!!
DSC04426

Ann is a good friend, I’ve known her a few years now and she is one of the most supportive and interesting people I know.  She is also very kind and loves animals, something that helped me out enormously a few months ago when we had to find a home for one of our cats, Amber.  It’s so nice being able to visit Ann and see Amber.  Amber was looking very happy and settled, and she’s even lost a big of weight as she doesn’t compete with the other cats for food like she did when she was with us.
DSC04428

Ann also likes cars and I was treated to a lift in her new Jaguar XK, it sounded so niiiiiiiice!

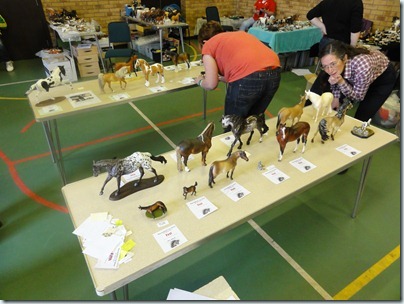
We arrived at the hall in good time and Ann set up her models, she hadn’t brought many this time so we shared a table – hers are on the right (mostly trads) and mine on the left (mostly minis).  I set up a small sales table too with a selection of models and medallions, along with my new mini broodmare.
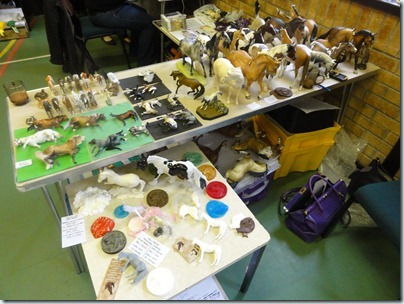
DSC04429

The broodmare was well-received, I have my first pre-order for her so I was very happy, but a couple of the ladies at the show who own or have owned real horses said something about the neck bothering them, and after a good deal of discussion we all agreed it just wasn’t right, which I am extremely happy about, as something was also bugging me about it but I couldn’t quite put my finger on it.  Now I have the opportunity to make the changes before casting which is much better than if we’d had this discussion later, when it might have been too late.

On arriving at the show I took delivery of a couple of models I’d arranged to pick up at the show.  I had forgotten quite how much wheeler-dealing I’d been up to and, combined with the trades I did and purchases I made at the show (I tried to resist but Donna ALWAYS has something to tempt me!), these models have been added to my herd:

The Babysitter painted by UK Guest Artist Amanda Greaves:
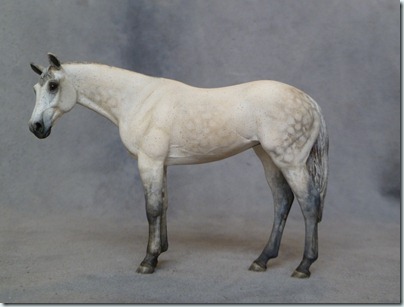
P1010527

AA Sabiha in Liver Chestnut and mini Welsh Mare and Foal (mare needing an ear and foal needing paint):
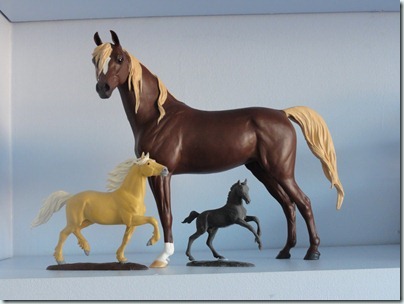
DSC04625

AA Riding Pony Mare (Hair Prep), broken front leg (easy fix):
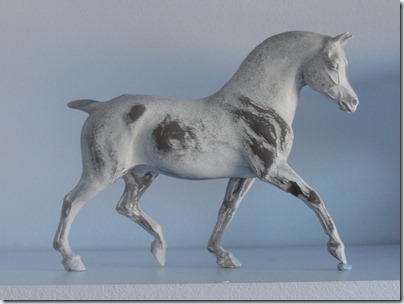
DSC04629

AA Sabiha (Hair Prep), broken front leg:
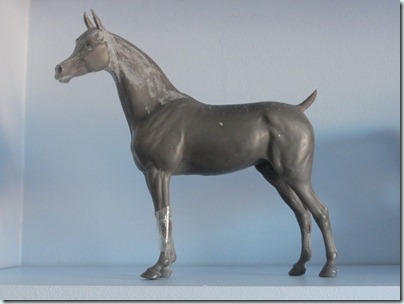
DSC04626

AA Welsh Cob plaque (not the full 3D model but not far off!):
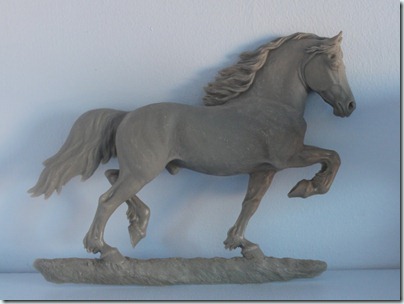
DSC04630

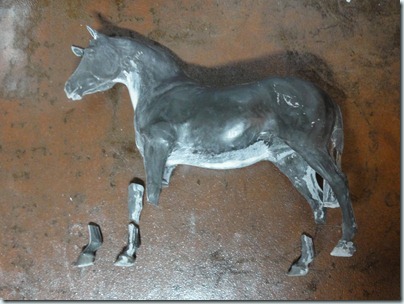
AA Working Hunter Pony Gelding with four leg breaks (bit of a challenge, but for just £5 I simply couldn’t resist!!) – unfortunately, by the time I got her home she had slipped out of her bubble wrap sleeve and also had an ear break!
DSC04686

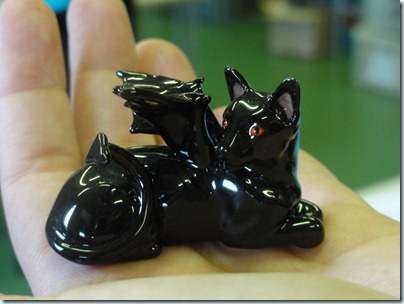
AAE CBC (Animal Artistry Earthenware, Claybody Custom) Bat-Cat, ordered from the Halloween Retail Therapy page last year – this model was SO popular, I only just managed to keep it for myself!
DSC04487

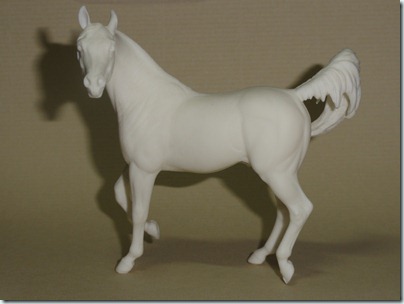
Sarah Rose Mini Nahar – by trade, you can never have enough mini Nahar models – I wanted this as I have a stripped copy I’d like to customise, but I’ve held off in case of ruining it – now I have a good one whatever happens, yey!
DSC04693

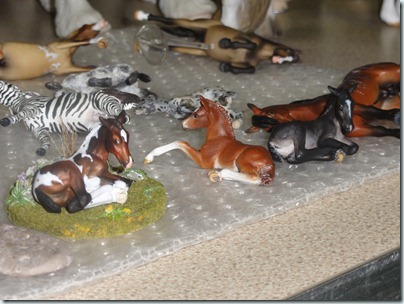
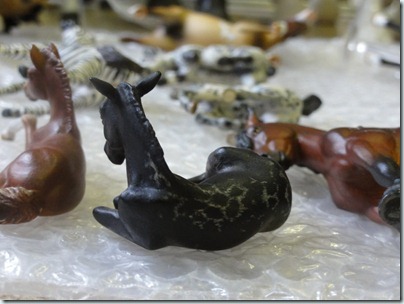
My friend Beccy showed me a model she has recently received from Janice Williford in the US, it’s the Very Little One to the right on this pic.  Looks like a simple baby black….
DSC04434

…until she turned it around and showed me these beautiful lacy markings along it’s back.  She had some documentation to show that foals with these markings are born that way and that this pattern is not a result of any skin issues as was thought years ago.
DSC04435

This model came from the Blessed Broodmare models Janice distributed to raise funds for The Blessed Broodmare Project.  Janice didn’t paint all of the models but made all the arrangements for them and she did paint a few.  I was so thrilled to see that one of them had made it’s way back over here!  Beccy has asked me to decorate a base or two for her growing foal herd, which is something I’ve been wanting to do for a while – now I have a request I’m looking forward to doing these once Spring arrives properly.

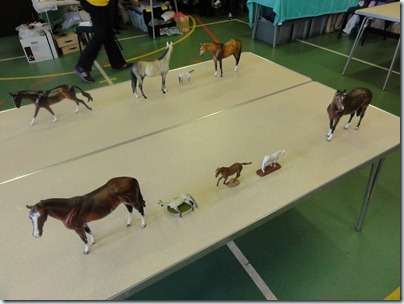
The show began and started off well, first of my models was my new Babysitter model.  When I saw the other models in the Resin Thoroughbred class I knew not to expect too much:
DSC04430

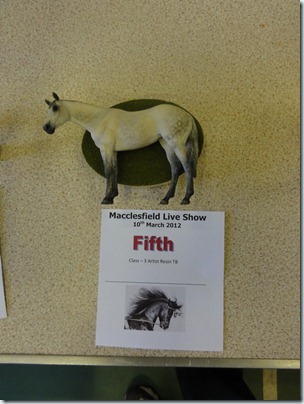
So I was absolutely chuffed to bits when my new model, now named “Rose of the Shires”, came in fifth place, immediately behind all the Carol Williams models!  The other Babysitter in the class, painted by Deb Brown got the Special (ie 6th place)
DSC04437

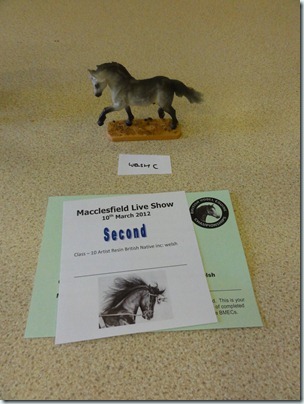
I had a few more successes… Merlin came second in a class of sixteen (and I forgot to bring his breed info to prove Welch C’s come in dappled grey!)
DSC04442

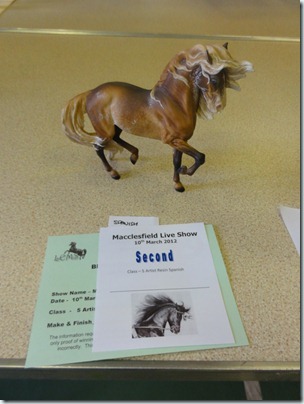
My Tango came second in a class of nine (I’ve struggled to find a breed for him for years, he was simple a Spanish Mustang today – seems to fit!)…
DSC04439

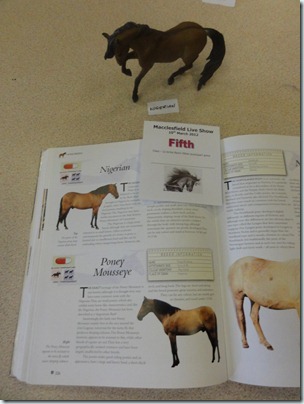
My new little Jitterbug only managed a fifth place in a class of seven, but that was behind three of those amazing  that are just wiping the board over here lately and a stunning Timothy resin – we were commended on a great breed assignment though, which I can take no credit for at all, hehe!
DSC04445

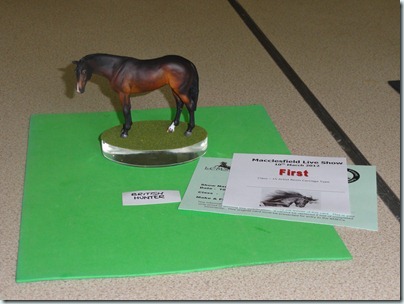
I won’t tell you every placing from the day, but there is one more I must tell you about – I was concerned that there may be too many Babysitter modes in the Thoroughbred class, as it turned out there were two, but I wanted to try something out and I entered my Seal Bay Babysitter model painted by Deb Brown, into the Hunter/carriage class as a British Hunter (again with a little advice from my more breed-knowledgeable friends, and guess what…
DSC04453

…she won First Place!  I didn’t manage to get a shot of how many models were in the class, but the judge said she looked at the model after seeing all the others in the class and she just felt the breed was perfectly assigned!  So, it seems this little mare is as versatile as I’d hoped after all!

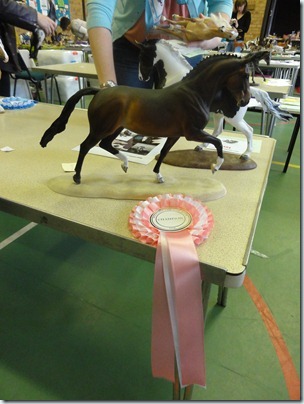
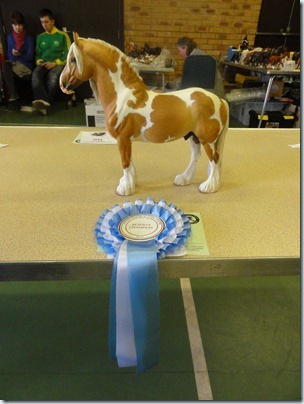
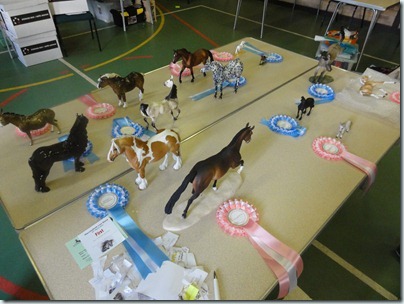
My showing for the rest of the day was below par, but I didn’t mind as I was on such a high from this.  So, I’ll share a little eye candy from the show and some pics of the champions:

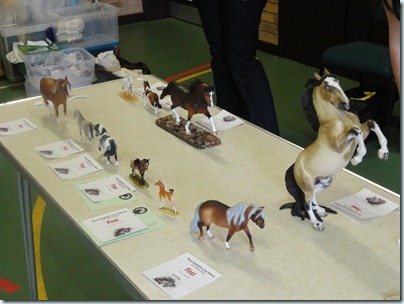
The Animal Artistry Championship:
DSC04522

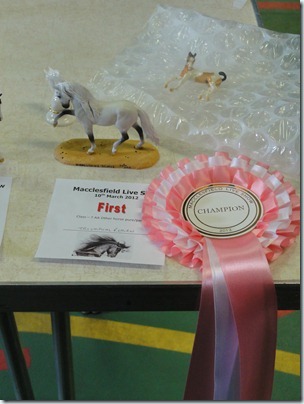
The AA Champion with his prizes – a gorgeous Cupid kindly donated by Donna for being the champion, and a bone china chess piece also courtesy of Donna for being the best AA Resin.
DSC04526

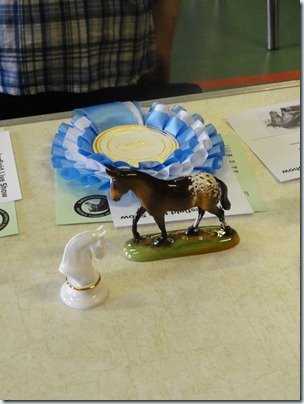
The AA Reserve Champion, bought on the day and jumping straight into success, this mule won a bone china chess piece for being the top-placed AA China model.
DSC04527

The Artist Resin Championship:

DSC04473

The Artist Resin Champion:

DSC04475

The Artist Resin Reserve Champion:

DSC04476

The Supreme Championship:

DSC04530

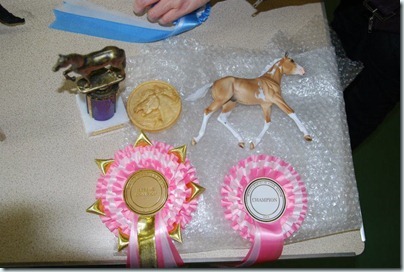
The Supreme Champion with his prizes (there was also a humungous box of chocolates too, but they wouldn’t fit on the table!), this is a Custom Breyer Child Star, I think (I’m not too hot on the OF names):
428668_10150704582740155_689360154_11656954_1472595112_n

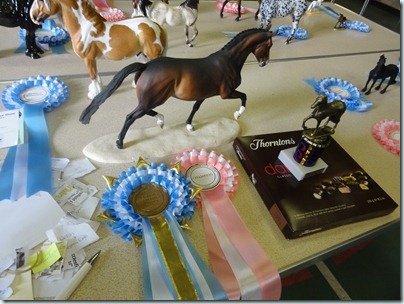
The Reserve Supreme Champion with his prizes, an Eberl Absinth painted by Claire Williams:
DSC04532

The Reserve to Reserve Supreme Champion with his prizes, an Eberl Adonis I believe, I’m not sure who painted him:
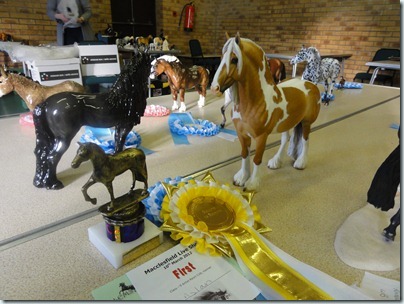
DSC04533

Congratulations to all the winners, there were some beautiful models at this show!

Afterwards, a group of us went to a local pub restaurant for a lovely meal and a gossip.  I caught up with a couple of friends I’ve not seen in such a long time, then it was time to go home, happy but exhausted.

Monday 12 March 2012

First casting…

Well I did it!  I wasn’t sure I would, but I got a cost of the broodmare out in time for the show on Saturday!

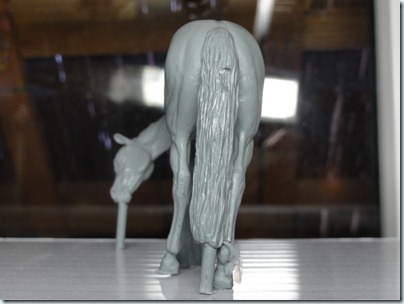
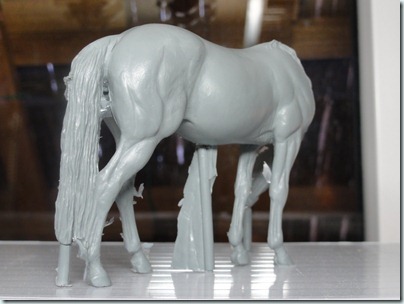
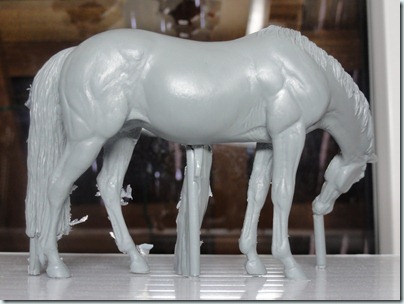
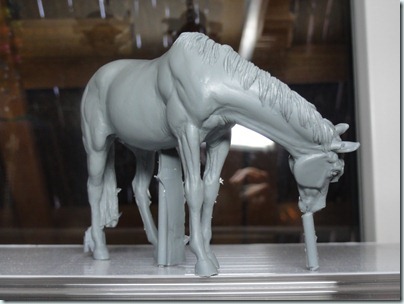
Here she is!  Please note, I have some reworking to do on the neck and pastern/hooves:

DSC04421

I’ll talk more about the reworking required in my next post, I wanted to document the process and why and wherefores of this model first though.

The reason I like to document these processes, even though it may become perhaps a little tedious for those of you who subscribe to this blog, is in the hopes that these little mini-session may be of some use to those just starting out in this field, just as blogs I’ve subscribed to, such as Lesli Kathman’s Blackberry Lane Pottery blog have been to me.  Without this post and the series following it I would not have had the confidence to cast Very Little One myself and probably wouldn’t have taken on casting the broodmare myself either!  Having these posts does allow me to look back and see whether I’ve improved my processes or am falling into the same old traps too, so I hope you will indulge me on these long step-by-step posts.

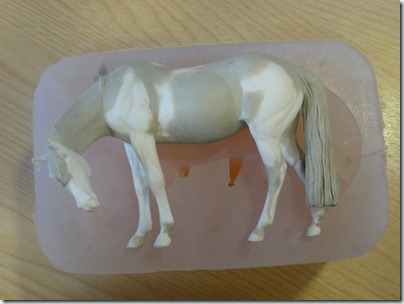
We left off at the point where I had just removed the original model from the waste mold:

DSC04392

Now, if you recall, I had to remove the acrylic base so my mold doesn’t have an overflow chamber for the resin to expand into as it is vacuumed.  The way I worked around this is as follows:

DSC04397

Yep, that’s plain old simple clear packing tape!  I use clear for visibility and because the brown stuff tends to transfer the brown colour onto things, but it doesn’t really matter that much.  This isn’t done normally as you’d have to reapply the tape for each cast, but as a work-around it does pretty well.

Now, I didn’t get any photos of the resin being mixed or poured, or vacuumed, this is because the resin starts to cure in about a minute so I don’t have time to get shots.  So, I mixed up some resin and added black pigment – I’ll explain why later.  I wasn’t sure how much resin the model would need so I mixed up 100ml.  I poured most of the resin into the mold and them placed both the mold and the mixing cup containing the remaining resin into the vacuum chamber and set it vacuuming.  The resin bubbled up out of the mold as the air inside expanded, then the frothy mix collapsed back down telling me that the air was expelled, then it got another 30 seconds to ensure the air was out and then I very gently turned down the vacuum so that the overflowed resin could fall back into the mold without taking too many bubbles with it.  I then removed the mold from the chamber and topped it up with the extra resin that was also vacuumed.

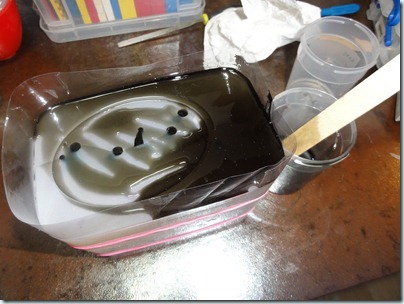
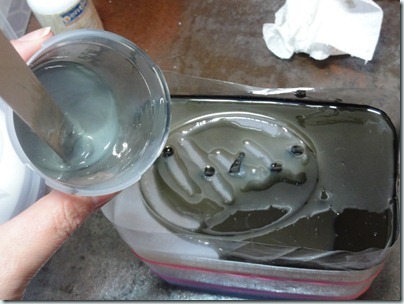
Which brings us to this image.  Here we have the mold and the resin which is the black liquid that you can see has overflown during the vacuuming.  I have scraped away the extra resin from the top of the mold so that I don’t have to grind away too much from the hooves, simply as I’m short on time.  You can see here that the resin is very black.

DSC04398

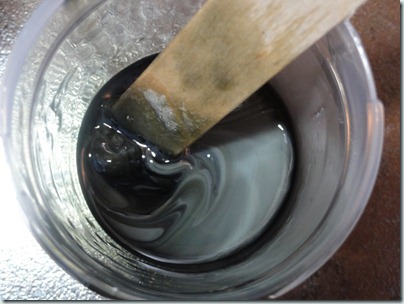
“Normal” white resin (normally from Smooth-On’s Smooth-Cast 300 range) starts out clear, then as it cures it turns white.  This means that, if you want a grey model, you add one drop of black pigment (for example).  If you wanted a black model, you’d probably need more like four drops.  Here you can see in the mixing pot how the resin is slowly turning from jet black to grey as the resin tries to cure from clear to white.

DSC04399

This colour change is very handy – it allows you to work out when the resin has cured.  It’s always best to remove a cast from a mold when it is still very slightly flexible, so I watch very carefully to try to work out when the resin has cured enough, but not too much.

Why grey? – several reasons – white resin takes poor photographs, especially in poor lighting like during the night when I mostly work.  My main reason though is that the Apoxie Sculpt I will be using to tweak this model comes in neutral (light beige) and silver, and the silver colour is very close to the grey resin.  As you saw with the original model, when it is all patchy is is very hard to work out whether proportions and details are correct, so having resin and clay that match allows resculpting that doesn’t obscure the view of the model.  Ok, back to the casting…

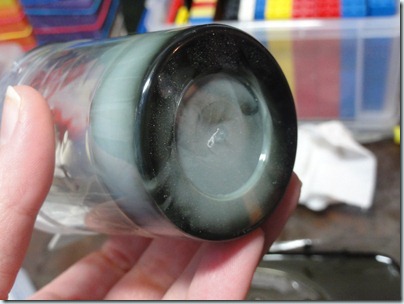
Resin is a bit of a pain – it cures in the larges areas first.  This means that on first glance you might think a model is cured, but the small extremities like ears and nostrils (which are never the bits you can see) may not have cured yet.  You can see this below – the resin in the mixing pot, which is about 1cm deep has cured and is a mid-grey, but the resin on the surface of the mold which is only a thin skin, is still a jet black so at this point I know that the belly of the model (the largest part) will have started curing, but the small extremities will still be liquid.

DSC04401

To prove this point, I turn over the mixing pot and then you can see that the area at the bottom of the pot has not yet cured (this isn’t due to not mixing enough, it is because there is a raised ridge at the base of the pot - it went on to cure fully).

DSC04402

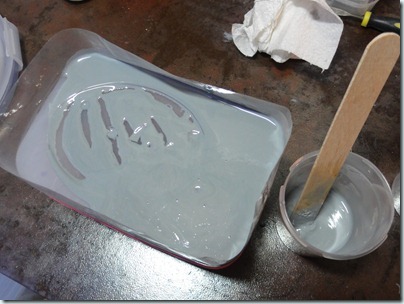
Even thought the resin starts to cure very quickly, those thin sections can take up to half an hour to cure enough for demolding.  Here you can see that a little while later the resin on the top of the mold has almost cured.

DSC04404

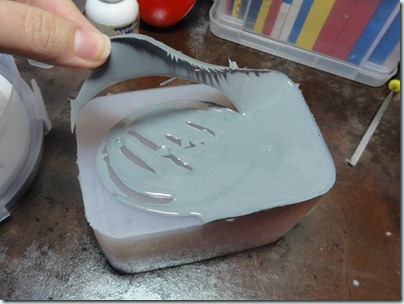
To test my own theory, I remove the overflow first as this is disposable so doesn’t matter if it breaks or is still gooey.  Here you can see the flexibility it still has, this is a good point to demold as it has all turned from black to grey, but is still quite bendy.

DSC04405

The first peep – hello little lady!

DSC04406

I couldn’t take photos of the demolding as it took both hands and once started you can’t stop as the mold may spring back and damage the model in this vulnerable state.  Demolding is very tricky as you can only flex the resin so much before it breaks or stretches, this is controlled with a multi-piece mold but with a block mold (ie one piece) like this, there is a fair bit of flexing and pulling to get the model out.

So, here is the model fresh from the mold! 

DSC04407

These photos aren't totally accurate as the wide-angle of my camera distorts the images, normally I spend a while planning out much better photos but in this case I had to just take some snap-shots:

DSC04414

DSC04415

DSC04417

DSC04418

DSC04419

DSC04411

DSC04412

DSC04413

DSC04414

After a very quick tidy up, here she is with all the sprues removed and a very quick smooth of some of the seams.

DSC04420

The Broodmare debuted at Macclesfield Live Show on Saturday 10th March, I will post about this next.