About Me

My photo
Based in Northampton, UK, I live with my husband Adam, our Cocker Spaniel Bruno and Deeley the Bengal cat. I work full time as a Creative Artist / 3D Designer and part-time with my creative endeavours. I hope you'll enjoy reading about my work and other random ramblings, from the satisfying successes to the catastrophic failures! Still, it's all good fun, which is kind of the whole point really...

Thursday 2 May 2013

Eep!!

So here is a lesson in not-speaking-too-soon!

Remember this from yesterday:

SAM_0126

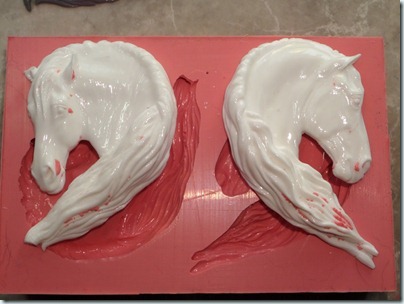
Well I dismantled the mold box and removed the mold without incident and had a lovely tidy mold to be proud of, but when I then made a test “cleaning” cast of white models, unfortunately this happened:

SAMSUNG CAMERA PICTURES

Eep!!  Yep, that’s one broken, ruined mold and two unusable casts. Crying face

I was heartbroken!  That was until just now when I had a long conversation with my materials supplier who gave me some valuable advice on making glossy models. Call me

I’m quite familiar with chemical reactions causing strange results during casting.  Each time I think I’ve got this casting malarkey nailed down, there is always one curveball I’ve not anticipated just ready and waiting to restore my humility and respect for this incredibly scientific discipline.

This time it was alcohol*.  The gloss agent I used to get that lovely shiny finish (Testors Glosscoat) does NOT play well with silicon rubber as it contains alcohol.  What happened here was that, when I removed the masters from the newly made mold I noticed some of the gloss coating had come away.  This is not unusual for any model with a coating (varnish, primer, paint etc) to lose some of it to the mold and normally a simple white casting will remove this residue leaving a perfectly clean mold ready to put into production.

*what?!?! Surprised smile How can alcohol possibly be a bad thing??

The alcohol in the gloss coat, however, somehow reacts with the rubber and they “become one”, so when the liquid resin is poured and adheres to the residue (normally to remove it cleanly from the mold), this time the residue “is” the mold, so it effectively adheres to the mold!

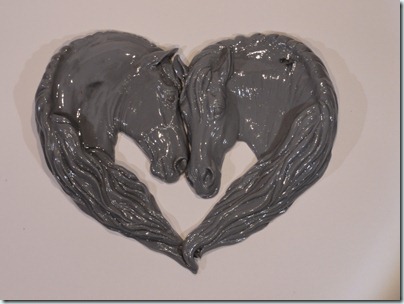
You can see that poor Victoria above has lost her ear tip and mane tip, this was due to the force I had to use to remove the casts from the mold, they were THAT strongly adhered to it.

So, I now know how to fix the problem; which glosses I CAN use and where to buy them so that’s a job for tonight on my way home from work, then I can start over with this popular pair and finally offer some casts! Open-mouthed smile

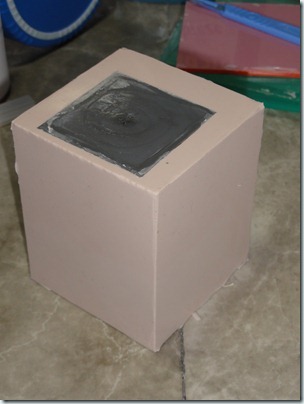
Aaaanyway!  Here’s another photo of that other “mystery” model in it’s mold.  I’m counting my lucky stars today as I had also treated this model with the same glosscoat but somehow the molds I’ve made have come out perfectly.  If this had been ruined it would have been an enormous amount of work to get it back, so although I’ve been stung with Victoria and Albert, Lady Luck was at least smiling on me for this model.

DSC01472

There is always one nice side-effect to experimental casting – hands up if you know what this is: Winking smile

20130408_211307

Wednesday 1 May 2013

New year, new foal

Over the last few years a bit of a pattern has emerged in the models I make:

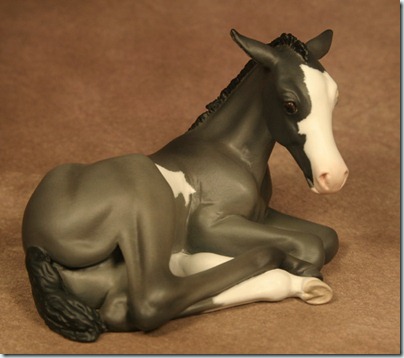
2009: Jaime Baker I

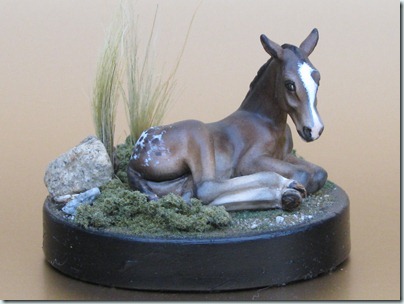
2011: IMG_7253

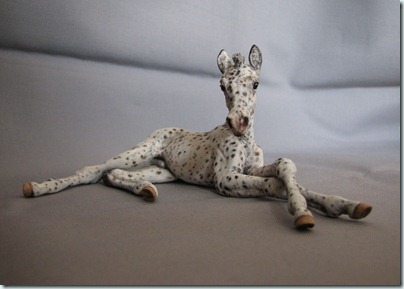
2012: IMG_3364

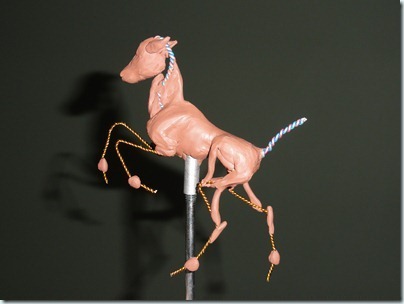
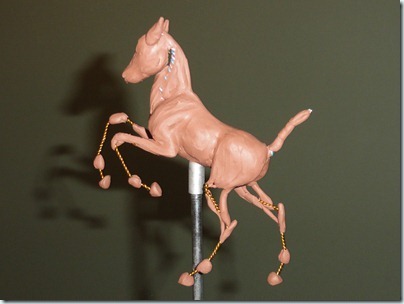
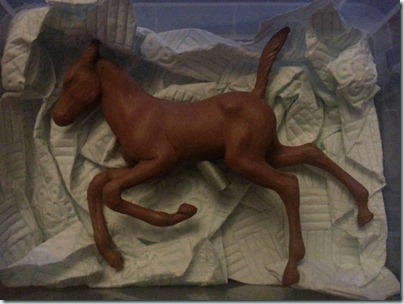
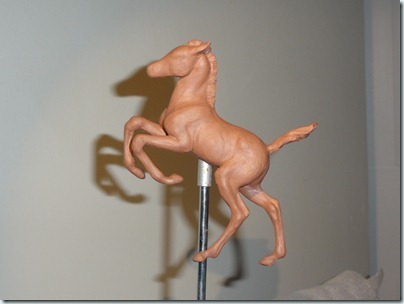
…and I’m afraid it doesn’t end there!  I’ve made a start on a new foal that I hope to be able to offer at this year’s Utterly Horses Hullabaloo.  The idea is that, although she (yep, it’s a girl!) is obviously not the same horse as Union Jack, she is just that little bit older, old enough to frolic around and throw her weight about now she has found her feet.

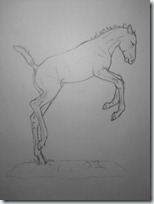
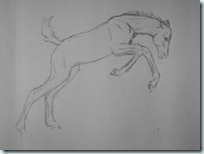
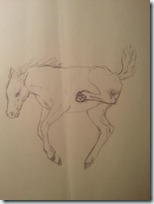
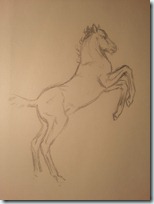
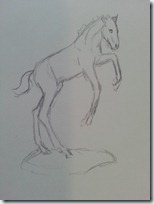
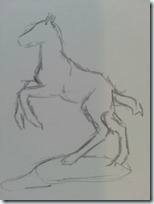
All new sculptures start off with sketches.  Lots and lots of sketches!  Here are the highlights of my scrawling:

20130328_22190820130328_22194120130327_20243220130327_2024272013-04-10 18.03.5320130410_180400

All of these could have been the UHH foal, some couldn’t happen for obvious practical reasons (ie image 3) or would make any potential future plans of going into china* problematic (image 1,2,4).  You may have noticed that the sketches got less and less detailed as I went along, which is a good thing as I gradually stopped trying to make “pretty pictures” and tried to work out the general feeling I liked from the poses and ones that would make sense with resin casting and possibly china casting processes.  Image 6 had me sold, or rather, the cheeky little appaloosa that it was based on did (it was a Facebook image so I can’t share it here I’m afraid), it ticked all those boxes on casting whilst still having the lift and energy I was looking for.

*No plans as yet but you have to think about these things – look what happened with Union Jack!

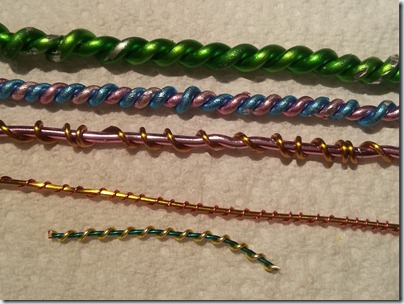
The next stage was to build an armature.  I began by twisting various thicknesses of wire together to find the perfect thickness for those little foal legs:

2013-03-26 22.14.59

The blue and pink were perfect for the “spine” of the armature, with the copper turning out just right when twisted with itself (not pictured).  The green and gold wire actually came from my wedding flowers last year, it’s what I used for Union Jack’s armature!

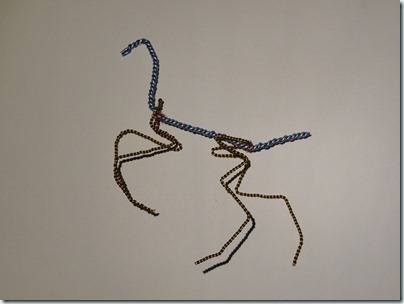
So I got to work measuring and roughing out the wire “skeleton”. You may notice something odd with the pelvis, but this is just the way I roll, the extra bends give me the flexibility I need with my armatures as I tend to move things about quite a bit after getting started.

Here is the basic armature. She started off looking more like a dinosaur than a horse – rwaaaarrrrghh!

DSC01505a_thumb

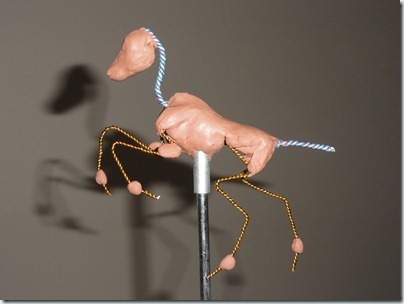
But slowly she began to evolve into something a little more foal-like:

DSC01512_thumb

The upright part of the armature is actually a recycled trophy!  My friend gave me some to use as I wanted to see about using the marble base for another project, but when I removed the large plastic “trophy” I found some wonderful bolts and shafts of just the right length to use for this model.  The marble base also makes the perfect weight to keep her steady but be able to pick up, and the thread at the top allows me to remover her as I need to when I need to get to those awkward bits underneath!

DSC01516_thumb

DSC01531_thumb

(Excuse the bad photo below – I was on holiday visiting my sister and her family over in Ireland – some of this sculpting took place on the plane on the way home!!)

2013-04-15 23.47.15_thumb

DSC01769_thumb

DSC01834_thumb

SAM_0038_thumb

SAM_0102_thumb

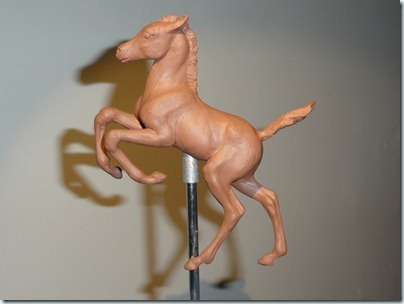
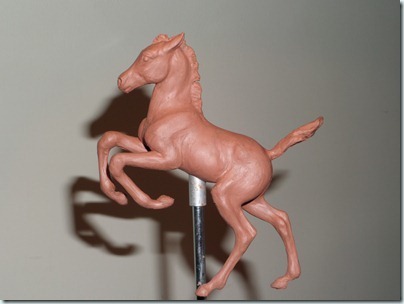
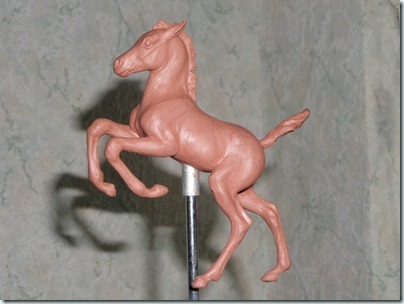
This brings her up to date, there is a way to go yet but she is definitely taking shape. I have all sorts of plans for her base but can’t start that until she is in resin (after the waste mold).

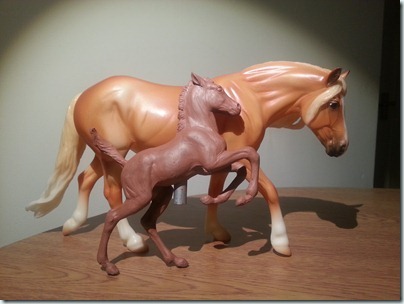
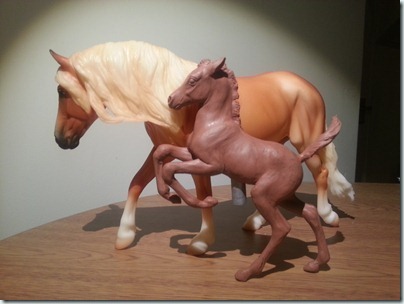
Here she is playing alongside the only classic scale mare I have (grateful thanks to Utterly Horses for letting me borrow her!!), which gives you an idea of her scale. I think they make a lovely couple, don’t you think?

2013-04-30 21.25.59_thumb2013-04-30 21.26.39_thumb

More on this and my other projects soon!

Albert and Victoria

Remember these guys?

DSC01299

I have them finished now and after a little wait while I dealt with the backlog caused by a nasty bout of glandular fever I can finally get cracking on them!  They are very shiny in this photo as my intentions are to cast them in a variety of resins including clear resin, which needs a nice smooth finish in order to really show its clarity.  I will find out once casting begins if I need an alternative mold for white copies, where I will make them matte for easier paint-adhesion.

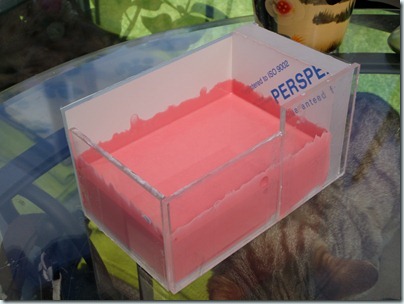
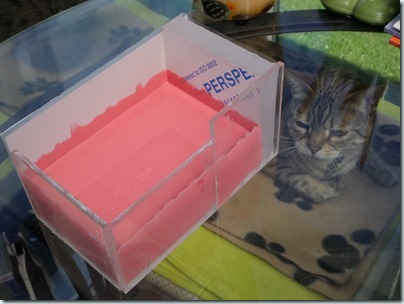
Here is the mold so far (along with my little helper under the glass table top).  I managed to forget to take my usual reel of in-progress shots, but here you can see that I’ve built a mold box, affixed the medallions to the base (this mold will cast one Albert and one Victoria so they can be exact colour matches when required) and poured the rubber.  The rubber has coated further up the sides of the box where it was vacuumed before going into my pressure tank.  I left it overnight in the pressure tank to cure fully and here it is from lunchtime today, I’ll take it all apart tonight when I get home and see how it came out.  I was aiming for a nice romantic pink as per the design of the medallions but as you can see managed to get a more cerise shade instead!  Ah well, all molds are pigmented different colours in my studio as it helps to keep track of them.

SAM_0125

I’ve started using a new type of rubber, or rather, an old type: originally I used a tin-cure rubber (add small amount of catalyst to rubber, mix, pour, leave to set) which is completely opaque, but moved on to a platinum cure rubber (mix equal amounts of part A and part B and then add catalyst, mix, pour, leave to set) later on as it was recommended as being more reliable and is slightly translucent when cured which helps with cutting open molds.  The platinum cure WAS more reliable… except when it came to the uncontrollable factors that some models have, such as model sculpted by other artists which I have been moldmaking for more and more recently.  I can’t risk these errors, especially with other people’s sculptures so decided, on balance, that when things do go wrong, tin-cure rubber does less damage than platinum cure, so my decision was made to change back to the tin cure.

I also had issues with the platinum cure rubber not lasting long enough, so after taking some advice I am now using a new rubber; Bluesil (previously called Rhodorsil) RTV 3325 to be precise, which I am promised will give me a more realistic number of casts before degrading.  I have yet to test it to destruction but over the coming months will be doing just that.

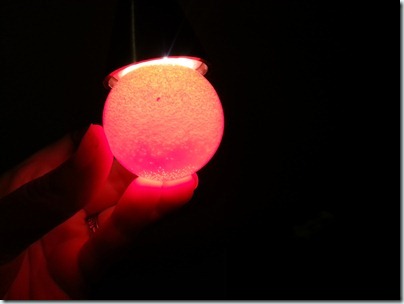
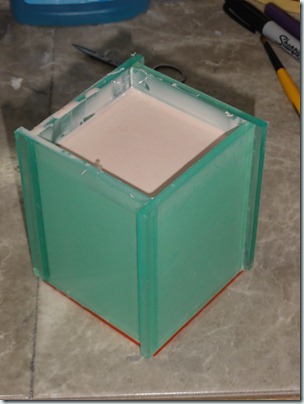
The Valentines medallions aren’t the only thing I’ve been casting lately, but I can’t show you some of my other projects except in a more abstract way like this:

DSC01471