About Me

My photo
Based in Northampton, UK, I live with my husband Adam, our Cocker Spaniel Bruno and Deeley the Bengal cat. I work full time as a Creative Artist / 3D Designer and part-time with my creative endeavours. I hope you'll enjoy reading about my work and other random ramblings, from the satisfying successes to the catastrophic failures! Still, it's all good fun, which is kind of the whole point really...

Thursday 14 February 2013

Happy Valentine’s Day


Happy Valentine’s Day everyone! Red heart I hope yours is full of love, inspiration and wonderful experiences be they with your partner, family, friends or collection

I’m pleased to present to you my latest medallions – they are not 100% complete yet but given their style I felt it important to reveal them today.  Meet…

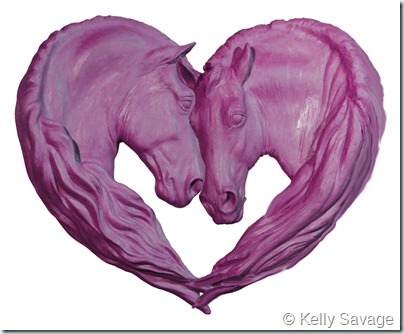
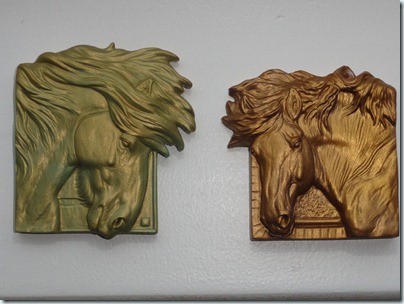
ALBERT & VICTORIA

Duo Colour

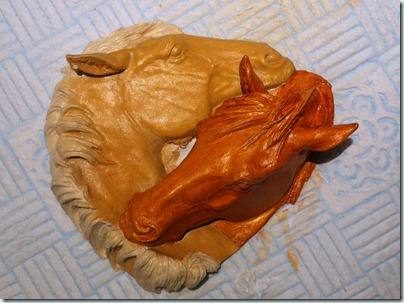
These love-birds are a set of two separate medallions which go together to form a romantic heart-shaped combination. They are sculpted separately and will be cast individually, giving lots of lovely combination options.

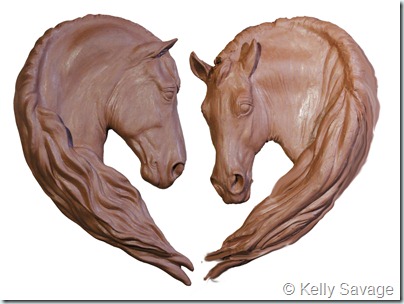
Duo Clay

As you can see, Victoria (right) has a little way to go until she’s complete.  Albert (left) is almost done, I will cast a resin copy and then add the fine details such as veins and whisker bumps etc. before taking the production mold for him.

I plan to offer these medallions in a multitude of colours and combinations, they will receive my full range of casting options including:

  • clear resin
  • clear pigmented (wine gum style) resin
  • cold cast metals
  • pearls
  • sparkles
  • mixed-media combination casts (ie gold horse with bronze mane)
  • and of course, pure white Artist resin for you to paint as you wish.

I’m particularly excited about the clear resin options, as I now have the means to cast beautifully bubble-free models.  I plan to offer these with a smooth, glossy finish too.

Albert and Victoria will be available to order when complete, over the next few weeks.  Pricing details will follow shortly, they will be available to order from my Website Sales Page and I will add their PayPal buttons as soon as they are ready to order.

Thursday 7 February 2013

January 2013

January was a fun month!  I managed to get thoroughly distracted by numerous little projects, whilst still managing to get in a bit of sculpting.

Firstly, I had been reading a wonderful publication that has been in the hobby for many years; Color Formulas and Techniques by Carol Williams.  I had managed to get my hands on a copy in late 2012 but hadn’t had the time to read it so over the holidays I buckled down and did a bit of learning.

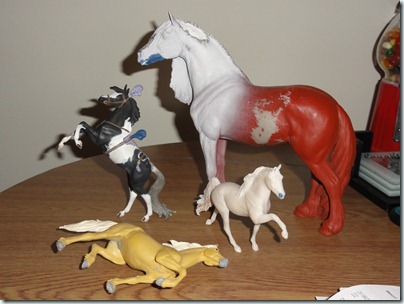
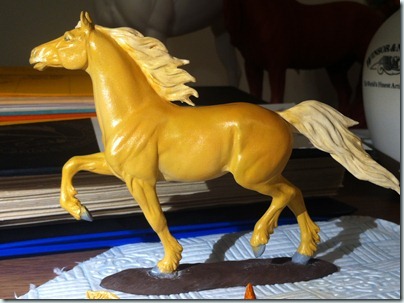
I’ve never been able to paint model horses, I don’t get much time to play with this aspect of the hobby so, considering Carol’s book talks mostly about oil paints I feel that this medium can work for me, saving me having to overcomplicate my learning with translating between various types of colour application.  So, I found a body; I always have lots of unfinished models around so chose the palomino AA Welsh mare pictured below amongst some other restoration projects I’ve had on the go for a while.

DSC00286

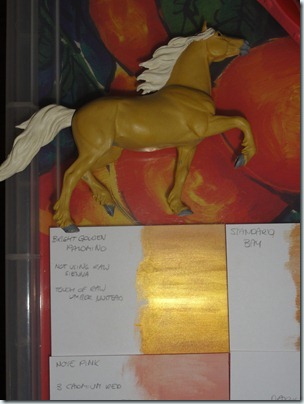
I stocked up with the basic paint colours I needed (except Raw Sienna, as it turned out!) and I tried a little mixing according to Carol’s formulas, though at this point I realised my lack of Raw Sienna which did limit the effectiveness of my studying!

DSC00333

I did prep the model a little as this was just an experiment,  I “flatted back” the original acrylic paintwork and gave it a good scrub to degrease it, remove dust and give a good key for the paint to adhere to.  I know this is NOT the proper way to prep a model, but as it’s the first time I’ve ever painted any model, I didn’t anticipate it being any good first time!

I am working on my prepping abilities though:

DSC00344

Then I got to work painting, and here is the result of the first session:

IMG_6103

It does look a bit yellow there, doesn’t it!  This is partly as I was aiming for a really “golden” palomino and partly due to night-time phone-photography (always a bit dodgy).  I was actually really happy with the effect and, of course with the tips I got in the Color Formulas book!  I was probably the most impressed with how it didn’t turn out green!  I set it aside for a few weeks to dry – I didn’t use a dryer in the oil paint as when I was experimenting I found it would dry too fast and as there’s no hurry she was deposited onto my shelf to dry fully before reassessing.

I also grabbed another model that I prepped donkey’s years ago – a Fly Fishing medallion.  Given the colours I had on the palette I chose to give them a base coat for Palomino and Chestnut.  I always found this model challenging – from the design and sculpting to the moldmaking and casting, but I never realise how hard it would be to paint!!!  Getting the paintbrush into the undercuts and tine areas around the mouths – I’m so sorry to anyone that has ever had to paint on of these – what a mission!!

IMG_6104

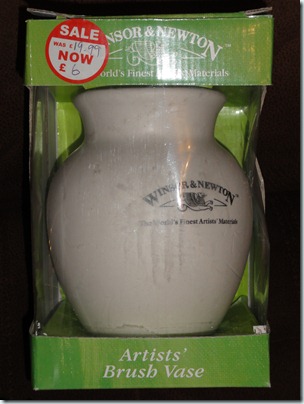
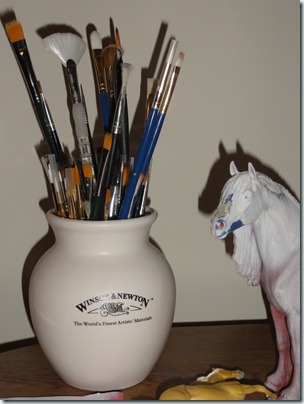
I got a good bargain in the January sales at Hobbycraft too! With my new painting exploits I found I needed my paintbrushes on-hand – I have many paintbrushes as I use them for lots of things and have painted flatwork in the past, so when I saw this I just had to bring it home with me! I do love a good bargain!!

DSC00289DSC00291

I bought another AA body model to play with too – this is the Classic Scale Welsh Section A resin.  He was advertised on MH$P as a body as he was missing his front lower leg and an ear, and was a raw cast.  I set to work rebuilding him a leg just to make him stand – I had planned to just add a wire and coat with superglue/baking soda ready to resculpt later, but I got a little carried away and before I knew it he had a whole new leg made of the superglue mix!  I wasn’t using any photo reference and didn’t know how the leg should go on this model so it’s not quite right yet, but he now stands perfectly and I plan to revisit him to finish that leg off properly at some point.

DSC00347

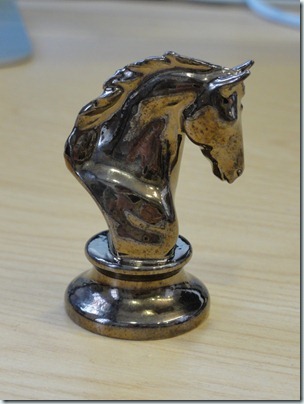
My collection also grew by one more AA model in January, this time it was something I’ve been trying to get my hands on for months – an AAE Award from Donna’s show last September.  I was at a family wedding when the show was on so missed it, but I collect these chess piece styled models and was thrilled when offered this bronze-glazed one as a part trade on some other models:

DSC00593

If you have any of these that you would like to sell/trade, please let me know.  I have quite a few but am also trying to find many more so am always on the lookout!

Oh yes, there was one other addition to my collection:

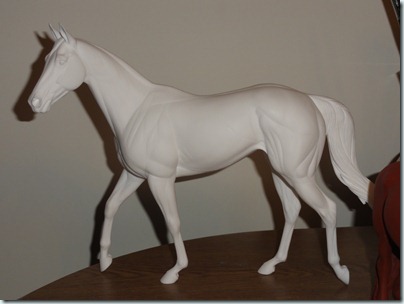
DSC00348

Affinity!!  After many months of time payments, Sarah emailed me to say I had only $5 left to pay!  I paid up immediately and she made her way to me over the festive period.  I can’t quite explain why I am so drawn to this sculpture, I know it has had mixed reviews in its unpainted condition – but almost unanimous approval once painted.  Perhaps that’s it – I want to work out how on earth you can sculpt a model specifically to look good painted!  I’m hoping to have this girl painted at some point, but to me, she is just as beautiful in all her naked-ness!

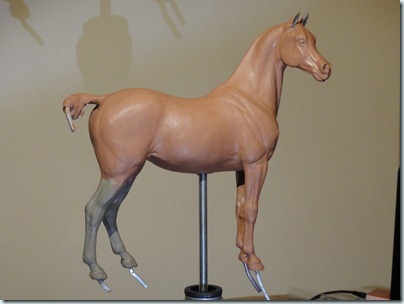
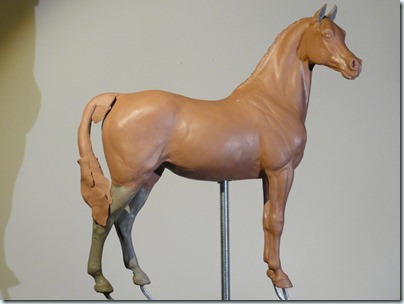
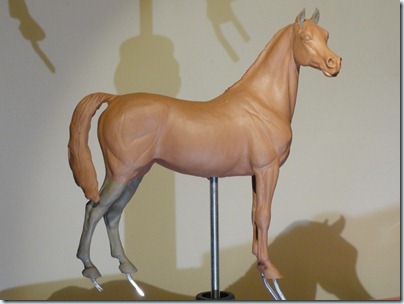
So – what actual WORK did I do in January?  Well, you saw how the Crabbet Arab mare looked back in November, well I managed to get three good sculpting sessions on her throughout January too.  Here’s her progress – spot the difference:

DSC00456

DSC00535

DSC00551

I posted the last image to Facebook and received strong feedback about having her tail attached to her leg.  I thought it would help when casting and give the resin copies more strength, but I didn’t realise that it would also give many performance showers a complete nightmare trying to get any tack on her! I’ll show the most recent progress in my next blog post, hopefully those who do performance showing will approve of her new tail-set Smile

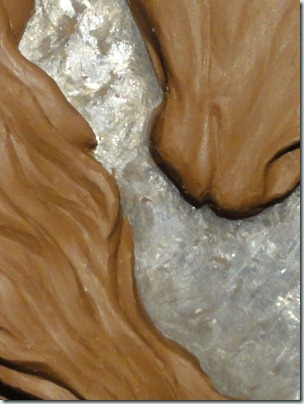
Working to my schedule for 2013 I had to start something new to offer in Spring.  I’ve made a start on a pair of medallions that I hope to reveal soon, here is a sneak peak of one of them.

FB Clue

During January I got into discussions with Donna Chaney at Animal Artistry.  I approached her to ask for a quote to have Union Jack cast as a china edition.  I crunched some numbers and worked out that I could manage to get the edition started and asked a couple of china collectors for advice on pricing to see how viable the edition would be.  I decided to take the plunge and have him cast in Earthenware, with each copy to be glazed to the buyer’s choice of colour.

Jack

I don’t have any photos of this yet as the edition will be cast soon, but in my next post I will share photos of the prototype models.

There was one more project I started during January, involving a bizarre type of resin I used about five years ago when I was working on the Frodo medallions.  I don’t want to share this just yet but will do once I have completed the first phase.

Wednesday 6 February 2013

Seeing out 2012

The final thing I did in November was not hobby related in the slightest.  As you know, I married Adam last May.  We had a “mini-moon” in Sherwood Forest with Bruno;

DSC06389

But we also planned to have a “big” honeymoon nearer Christmas.  So, for the last week in November we were enjoying the sights, sounds and delights of New York City!  It was a holiday I’ll never forget and such a contrast to our suburban quiet life here in central England.

DSC09428

In recent years I’ve started seeing a pattern in the way I work.  I tend to work hardest around August, usually burning out around October and then I rest until the New Year.  So, given that 2012 had also panned out this way I decided that starting with the honeymoon I would close my doors to model “business” and just do what took my fancy over December.

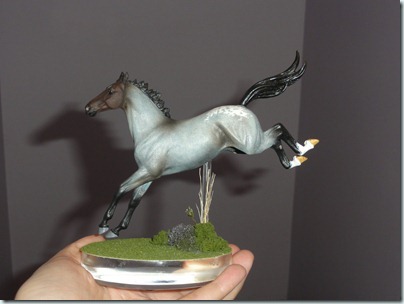
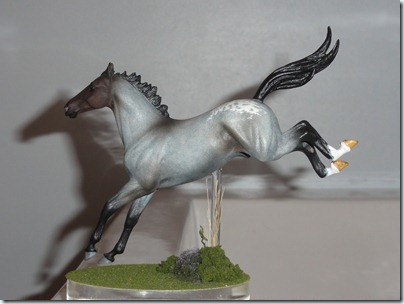
Starting with this little guy.  This is “Chasing Dreams”, a model I bought a few years ago and a regular feature of my show string.  Sadly I had a wobble when arranging my shelves and his eartip got damaged, so I had him on my to-do list for quite a while.

IMG_2267

I repaired his ear (very proud of myself!) but then I got thinking – his base had also been damaged in the accident, he never sat very well on it so I thought I’d give him a new one!  Enter…the Dremel!

I made the new base using an Acrylic paperweight drill to take the acrylic rod.  I have a small selection of diorama bits and pieces and added some greenery around the base of the rod.

DSC00089aDSC00093a

I’m very pleased with how he turned out and look forward to showing him again.  I am not quite done with him yet, I noticed he doesn’t have any skin mottling that would normally be found on appaloosas so I plan to add some next time I get to painting.

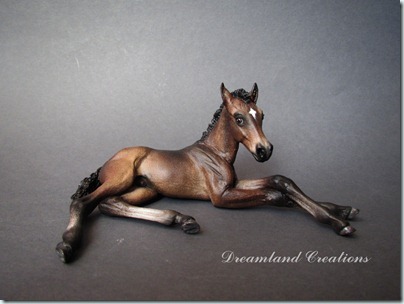
I was starting to see photos here and there of the first Union Jack models to be painted up since the Hullabaloo, including this handsome chappy finished by Jana H of “Dreamland Creations” – here’s her Facebook Page

IMG_5697

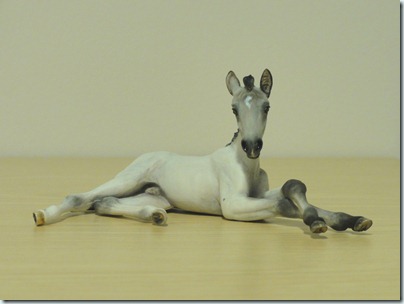
Below is a photo of a Union Jack that I received for my own collection – painted by Mindy Berg of Spruce Mountain Studio. Mindy painted him to my colour choice and did a fantastic job!

DSC00073

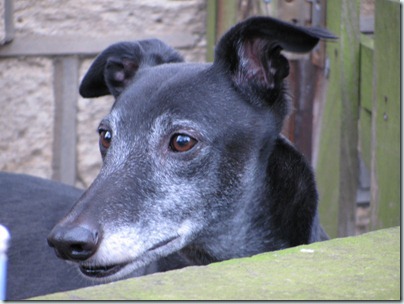
As Christmas approached I received some very sad news.  My good friend, Beccy, keeps greyhounds.  She has had a number of these gentle dogs over the years, many of them ex-racing dogs and I was saddened to hear that Zac, one of the three currently living with her had suddenly passed away.

IMG_8658

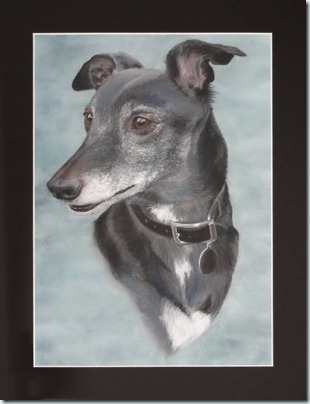
Beccy is a rare breed of dog-keeper.  She takes on the dogs that have little hope of finding their forever home.  The black dogs, older dogs and dogs with issues that only a seasoned greyhound keeper can work them through.  Zac was a lovely, sweet, gentle dog that asked little in life – just a warm bed, food in his belly and the occasional romp about with his toys.  His passing was sudden and unexpected.

I wanted to do something for Beccy, I knew I couldn’t take away her sadness so I decided to celebrate Zac’s life the best way I know how to – with a portrait.

zDSC00244a

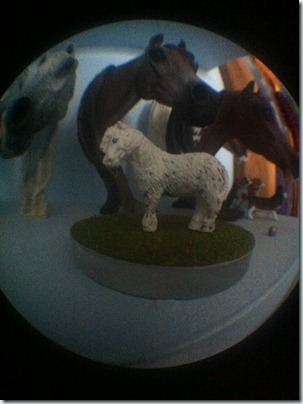
Christmas came and Adam, Bruno and I heading to the parents’ and in-laws’ to celebrate with our families.  I was given a great new gadget by my brother; a fish-eye lens for my iPhone!  I’ve not got to grips with it just yet but I couldn’t help trying to get eye-to-eye with my smallest resin.  This little lady is called Wee Lassy and as far as I’m aware, is the smallest resin horse in the hobby!

IMG_6021

As 2012 included such a major event in my life with the wedding, even thought I was as productive as I could be I am looking forward to doing much more in 2013.  I am working to my New Year’s Resolution of simplifying where possible and have mapped out a schedule of work that will see up to a baker’s dozen of new models coming out this year.  Some are revisited models such as the final “Pickle V3” minibust that I am planning and some are brand new sculpts such as the medallion pair I am hoping to reveal in the next few weeks.  The first new offering for 2013 is Union Jack in china, which admittedly hasn’t required quite so much work from me as his resin big brother, but I’m on track nonetheless!

Tuesday 5 February 2013

Models, Multimedia and Monumental Mistakes!

Following on with my catching up, November was quite an exciting month all-round!

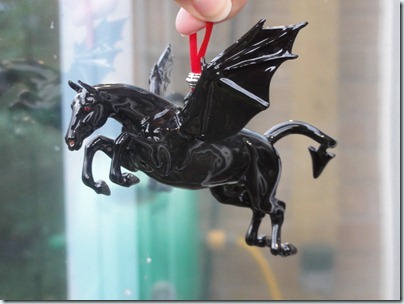
Firstly, I received quite a selection of newbies into my collection (as a result of about six months’ purchasing, it just happened they all arrived in November) including this devilish little chap…
DSC09262

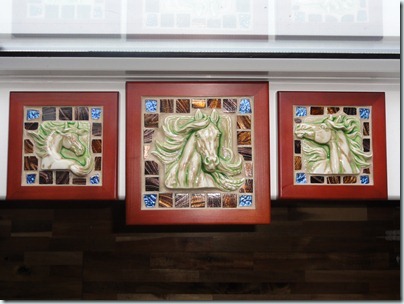
…This exciting pair of oh-so-hard-to-get-your-hands-on Sarah Minkiewicz-Breunig CUBEquines, which I am very grateful to have…
DSC09264

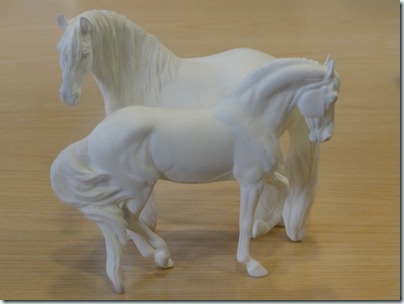
…another wonderful trio set from Sarah’s Etsy sale (I feel so lucky to have gotten my hands on these)…
DSC09278

…and this pair of Stacey Tumlinson treats from her sale too!  I never knew DiCaprio was so big!
DSC09191

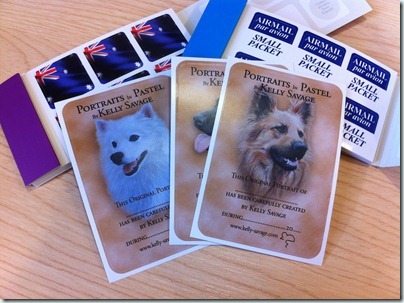
Ok, so I also bought some studio items which had me happily designing and arranging.  These stickers are made by www.moo.com (I don’t free plug people often, but they earn that from me – a wonderful company to deal with!).  I’ve always loved their stickers as they are a wonderful quality, their online ordering system is simple to use and on one occasion where I needed their customer services, they delivered!

I love their stickerbooks –I use them to help me with parcel-packing.  I use one sticker for all Airmail Small Packet parcels (otherwise it has to be written out on each parcel which takes time and handwriting – something I’ve almost lost the ability to do what with the computer age!) and I add one sticker to the from of each box with the flag for the UK, US, Europe and, with my latest order, Australia.  You wouldn’t believe how much it helps to see at a glance where your parcels are going!
IMG_5659

The larger stickers are for use on each portrait I do so that should the customer ever want to know “who did that” or (even better) order another, my details are there for them.  I’m very pleased with these ones, they add an element of professionalism to each portrait.  I chose just three designs (just as I ran out of time and had to get them ordered) but will add more in the future.  I will tell you more about the image on the middle sticker in a moment…

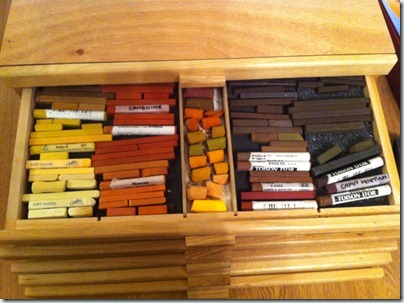
As you’ve probably guessed, I did a dog portrait during November.  The portraits are becoming a little more in demand recently, so I felt I should get my pastels in order!  Seeing a good offer on at GreatArt (UK art materials stockist) I plumped for these wooden drawers:
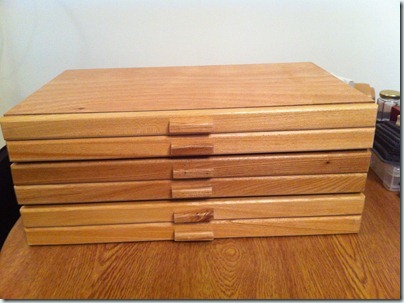
IMG_5354

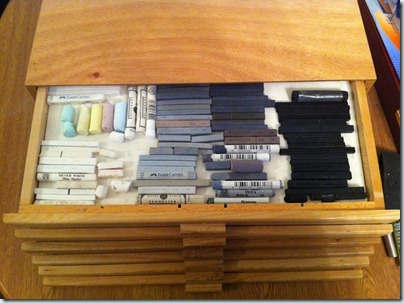
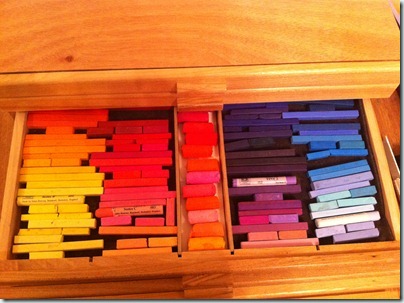
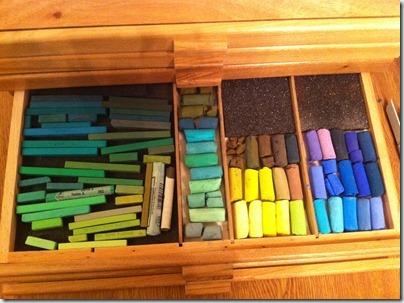
I enjoyed a good few hours sorting and arranging my soft and hard pastels and here’s how they look now:

Top drawer – monochromes and tints
IMG_5360

Second drawer – creams to brown

IMG_5359

Third drawer – brights (not used so much for pets!)
IMG_5358

Fourth drawer – greens and super-softs
IMG_5357

The other two drawers hold the accessories (putty rubbers, tourtillions etc) and my iridescent pastels.

I had great fun – I can usually measure my fun-levels as they correlate perfectly with the level of mess I’m in once I’m done!  I think I can safely say I had fun with these Smile

IMG_5361

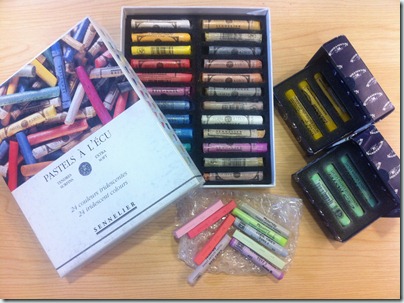
I wasn’t finished yet, either!  eBay was my November distraction and I managed to add these to my drawers too!
IMG_5437

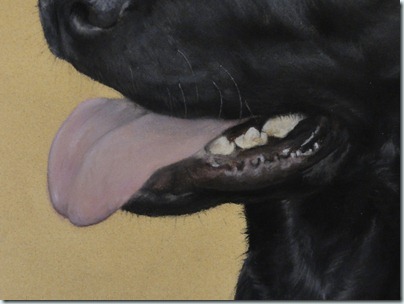
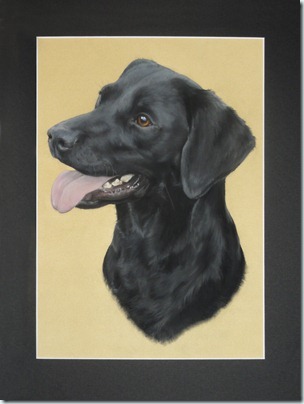
So, armed and ready to go I got cracking on a commission that came about through Facebook; a beautiful black Labrador named Heidi:
DSC09283a

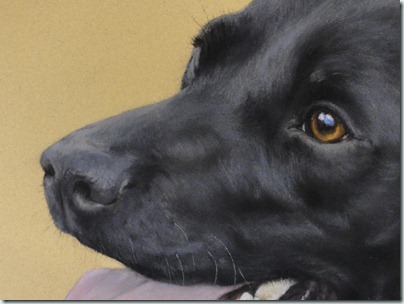
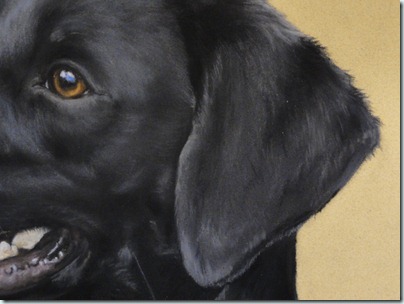
I’m not sure if you click that image it will show full size, so here are a few close-ups of her too:
DSC09241

DSC09242

DSC09240

I really enjoyed working on Heidi’s portrait, it is the first time I’ve worked on a dark, short haired dog and I’d been hoping a commission like this would come along.  Heidi’s portrait was presented to her owner at Christmas as a gift from her daughter and family.

I also managed to squeeze in a bit of sculpting in November.  Brace yourselves… I did a little work on Jasper (dum, dum DUMMMMM!)!  Sadly he’s so hard to work on in the very hard resin I cast him in (what was I thinking??) so progress is painfully slow. I’m not overly happy with the work I managed to do on him, I was trying to “flesh out” his neck with wrinkles and creases, but now I think he just looks stripey!  I don’t think these details can be carved, I will likely remove that portion of neck and sculpt it using apoxie in one big session, or may even sculpt that area using normal wax based clay so I have more control over it.  I don’t regret getting Jasper into resin form but I have to admit, with the progress I’ve been making on the Crabbet Mare I would quite like to take him back to clay so I can work on him properly again!
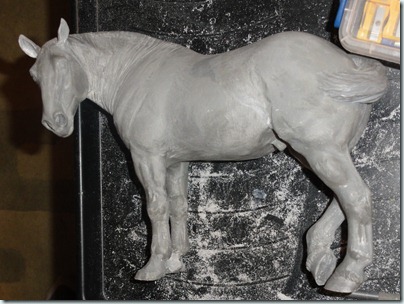
DSC09295

SO that brings me to the Crabbet Mare!  She doesn’t look like this now as I’ve been working more on her, but this is how she looked back in November:
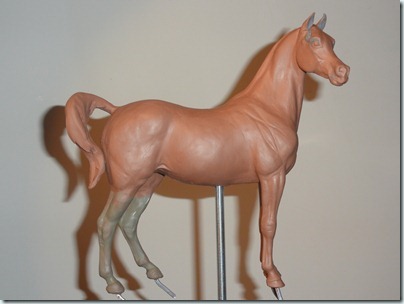
DSC09370

That was all the sculpting I got to do, but, even though I wasn’t casting any of my models, I was working – I had visitors!!

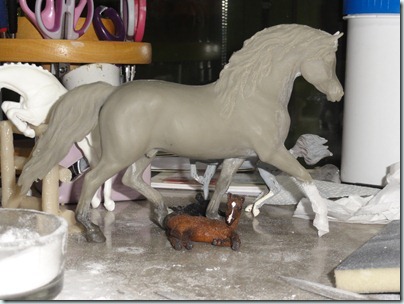
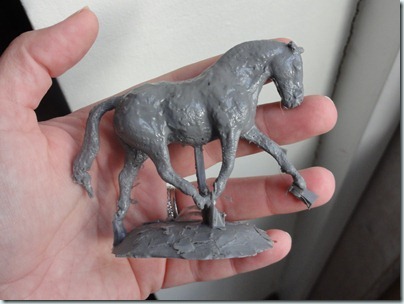
Clare Stokes has sculpted two mini resins; Baladito (a Spanish horse doing “The Walk”) and Hamlet, a trotting British Cob.  She entrusted them to me to make waste molds and supply her with resin models so she could go ahead and make her prototypes.  I have made many waste moulds, all-but-one successfully.

This did NOT go to plan.

I have to warn you, some of the following images may disturb you! Confused smileEmbarrassed smile

The rubber I use to make my molds it a platinum-cure silicon.  I use this as, provided you follow some simple rules and use the platinum additive, they will set properly ever time.  In my studio this is no issue, I know what is good to use and I know what to avoid.  With the exception of the original Babysitter mold, when the rubber mix reacted to the chemicals I used to smooth the clay, every other mold I’ve made has set just fine.

I made the rooky-error of not doing my homework – I didn’t tell Clare these details nor did I ask her about how she worked.  She did absolutely nothing wrong and to this day we still don’t know what happened, but…

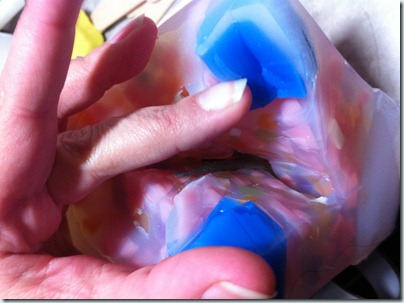
Everything was fine, the rubber looked good and solid. The cubes you can see are recycled old molds that I use to “fill” waste molds and the yellow is the Newclay base I used to keep the model upright during the pour:
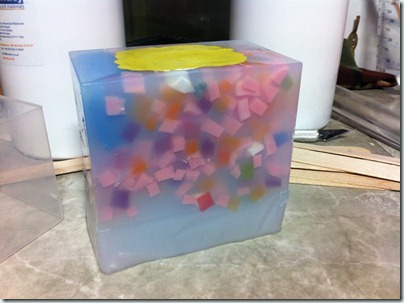
IMG_5397

I peeled away the Newclay – no problems here!
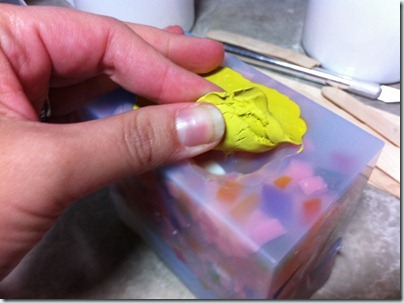
IMG_5398

Started cutting and…OH-OH!! Surprised smile

IMG_5400

The rubber around the clay original had reacted!  a 1-2mm thickness of uncured, sticky liquid rubber surrounded the model.  This was the point of no return for the clay original, you don’t get to make a waste-mold twice!  There was nothing I could do but take out the original, clean away as much uncured rubber as possible and try to cast something from the mold.  Disaster!  The worst part was that the second model was already in the rubber, probably reacting at this very moment Sad smile I gave the second mold an extra day to cure, sadly it didn’t help.

I cast out a copy of each model from the awful molds, feeling as wretched as is possible.  The results?….
DSC09194

IMG_5401

Told you they were shocking!  I was heartbroken – for Clare and for myself – her pride and joys that she had so willingly entrusted to my care.  I couldn’t even tell her for a day, I was so gutted and embarrassed.

All was not lost though!  If you think about it – all of the problem areas were caused by a layer of liquid rubber on the surface of the model so when cast this extra area was now made of resin, so if I sanded away the extra resin, the models were still there – just waiting for me to let them out again!  So I got sanding, very carefully and resisting all temptation to “sculpt” I very slowly began to reveal the two happy little guys from their warty overcoats!

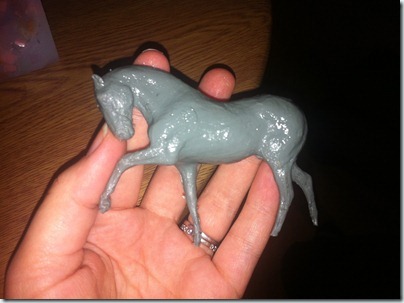
Although these guys are the same colour as Jasper, they are made from regular “white” resin, pigmented grey.  They cleaned up beautifully and to say I was relieved to see their lovely little forms appearing, is a massive understatement!
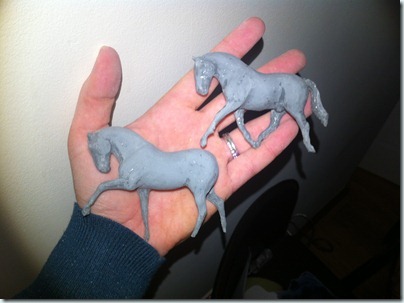
IMG_5438

These two have undergone another transformation since being back in the safety of Clare’s hands.  She has just sent Baladito in his gorgeous completed form to be cast!

Clare Stokes is one to watch in the hobby, the progress she is making with each sculpt she does is tangible, I can see big things for her!

Meanwhile I think I’ll be changing the rubber I use for mold-making!  Thank you Clare for letting me be a part of these lovely models’ creation and THANK YOU for forgiving me so generously for my monumental mistake on them.  This is one lesson learnt that I don’t plan to repeat!
I will post more photos (or links) of Baladito and Hamlet once they are complete.